Just a moment...
Learn how to create, customize, and publish your first SPRL Bio Page with your profile information, links, contact details, and preferred appearance.
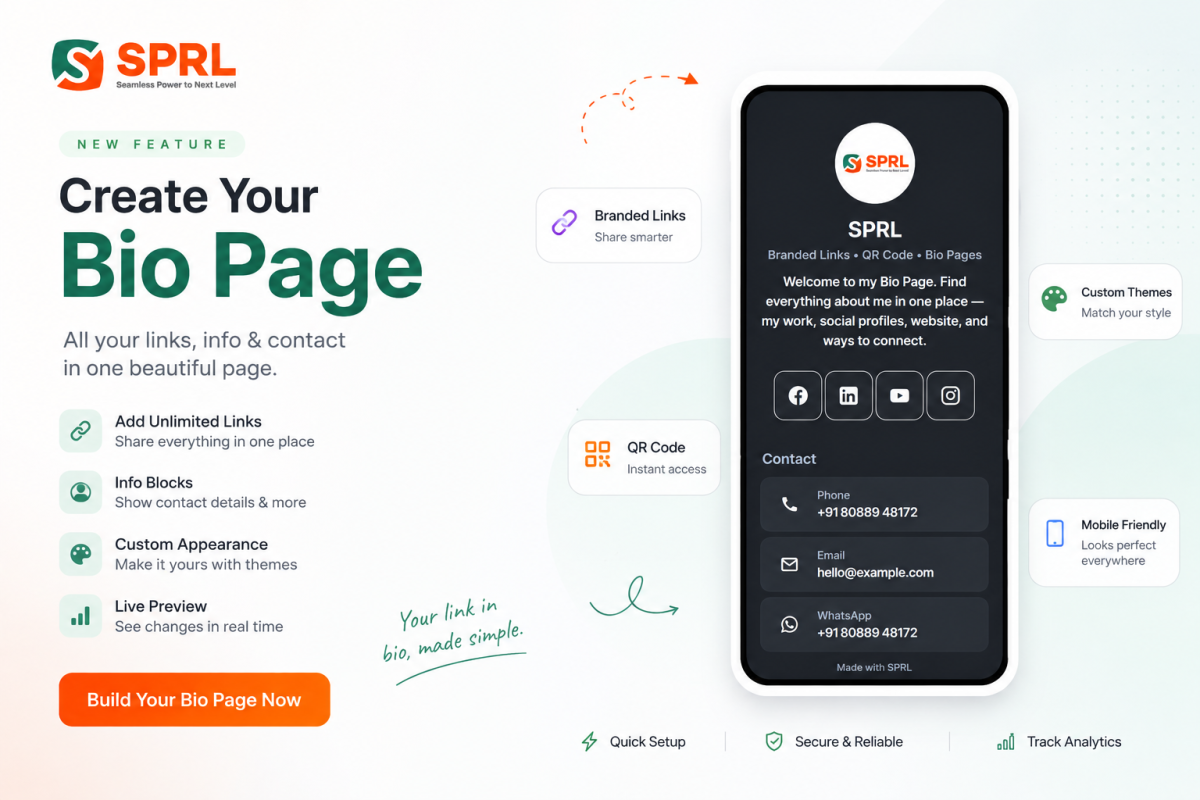
Creating an SPRL Bio Page lets you bring your profile information, links, contact details, and other important information together on one shareable page.
You can create a Bio Page from your SPRL dashboard, customize it using the Bio Page builder, preview your changes, and publish it when it is ready.
This guide walks you through the complete process of creating your first Bio Page.
To create a new Bio Page:
The Bio Page builder will open where you can configure your page information, content, and appearance.
Start by configuring the basic information for your Bio Page.
Select the domain you want to use for your Bio Page URL.
Your final public URL will use the selected domain together with your Bio Page slug.
For example:
https://sprl.in/your-nameEnter a title that identifies your Bio Page.
For example:
Suraj Jain - Profile BioThe Page Title is also used as a fallback for the visible profile name when a Profile Display Name has not been provided.
Enter the URL slug you want to use for your Bio Page.
For example:
suraj-jainSPRL allows letters, numbers, underscores (_), and dashes (-) in the slug.
You can optionally add a short description for your Bio Page.
The short description can be used as a fallback when a Bio has not been provided in the Profile section.
The Profile section controls the main information displayed on your Bio Page.
You can add:
Add a profile image to make your Bio Page more recognizable.
You can later customize how the image appears using the appearance settings.
Enter the name you want visitors to see on your Bio Page.
If a Profile Display Name is available, it is displayed as the main profile name.
If it is left empty, the Page Title is used instead.
Add a short headline describing your role, profession, business, or purpose.
Example:
Founder & Product BuilderAdd a short introduction about yourself, your business, or what you do.
If a Bio is provided, it is displayed as the main profile description.
If the Bio is empty, the Short Description from the Page Information section is used instead.
Use the Links section to add the websites and online destinations you want visitors to access.
Examples include:
Each link can be configured with its own title and destination so visitors can easily understand where the link will take them.
Info Blocks let you display additional information on your Bio Page.
You can create multiple Info Blocks and organize related information into separate sections.
Supported information can include:
For example, you could organize your information like this:
| Info Block | Items |
|---|---|
| Contact | Phone, Email, WhatsApp |
| Office | Address, Location, Hours |
| Support | WhatsApp, Email, Website |
You can also use the quick-add options to add commonly used contact information quickly.
Once your content is ready, use the Appearance section to customize how your Bio Page looks.
Available appearance options include:
The live preview allows you to see your changes while building the page.
Use the live preview on the Bio Page builder to check how your page will appear to visitors.
Review the following before publishing:
Changes made in the builder are reflected in the preview so you can adjust the page before making it public.
You can save your Bio Page while working on it before publishing it.
A page that has not been published can remain in Draft status while you continue preparing the content.
This allows you to build your page gradually instead of publishing it before it is ready.
When your Bio Page is ready, click Publish.
SPRL checks the page information and URL before publishing it.
Once successfully published:
For example:
https://sprl.in/suraj-jainPublishing your Bio Page does not mean you have to keep the content unchanged.
You can return to the Bio Page builder and update your:
After making changes, save or update the page as required.
Your Bio Page can continue to use the same public URL while you maintain its content.
SPRL allows you to create multiple Bio Pages when you need separate pages for different purposes.
For example, you could create separate pages for:
| Page | Purpose |
|---|---|
| Personal Profile | Your personal links and contact information. |
| Business Profile | Your company information, website, and business contacts. |
| Creator Profile | Your social profiles, content, and creator links. |
Each Bio Page can have its own content, appearance, and public URL.
A simple and effective Bio Page can follow this structure:
Keep the page focused on the information and links that are most useful to your visitors.
| Issue | What to Check |
|---|---|
| Cannot publish the page | Check that the required page information and URL fields are completed. |
| URL is unavailable | The selected slug may already be in use. Try another slug. |
| Profile name is not displayed | Check whether a Profile Display Name or Page Title has been provided. |
| Bio is not displayed | Check whether a Bio or Short Description has been provided. |
| Links are missing | Check the Links section and make sure the links have been added correctly. |
Go to My Drive → Bio Pages from your SPRL dashboard and create a new Bio Page.
Yes. You can save your page as a draft and continue working on it before publishing.
Yes. You can edit your published Bio Page and update its content or appearance.
SPRL uses the Page Title as the fallback for the visible profile name.
SPRL uses the Short Description as the fallback for the page description.
Yes. You can create multiple Info Blocks and use them to organize different groups of information.
Yes. You can create separate Bio Pages for different profiles, brands, businesses, or purposes.
Yes. You can configure the page content and appearance and review the live preview before publishing.
Our support team is always happy to assist you.
We use cookies to improve your experience, analyse traffic, and personalise content. By clicking “Accept”, you consent to the use of cookies as described in our Cookie Policy .
Accept cookies Read our Cookie Policy